DIY Sharpie pen plate

2 Comments

Homemade Christmas presents! 😀  I kept seeing awesome tutorials on Pinterest for making mugs or plates using Sharpie pens and baking them in the oven.

I finally gave it a shot!

I got all the supplies at The Dollar Tree….plates and some permanent markers.

Then I let the Wingman have at it.  He was much more fascinated with taking the cap on and off the markers, but every now and then he would give the plate a swipe with the marker.

2014-11-29 12.01.02

After he decorated them all, I put it in the cold oven, then turned it to 450.  Once the oven was completely heated, I set the timer for 45 minutes.  It only lasted about 30 minutes I think, though, because there was a horrible smell (I’m wondering if it was the stickers that I had forgotten to take off the bottom of the plate??  😦 ).  I then turned off the oven and let the plates remain inside until completely cool.

The colors definitely faded a lot in the process.  I don’t know if it’s because I used cheap markers or if that is typical.

20150103_133101

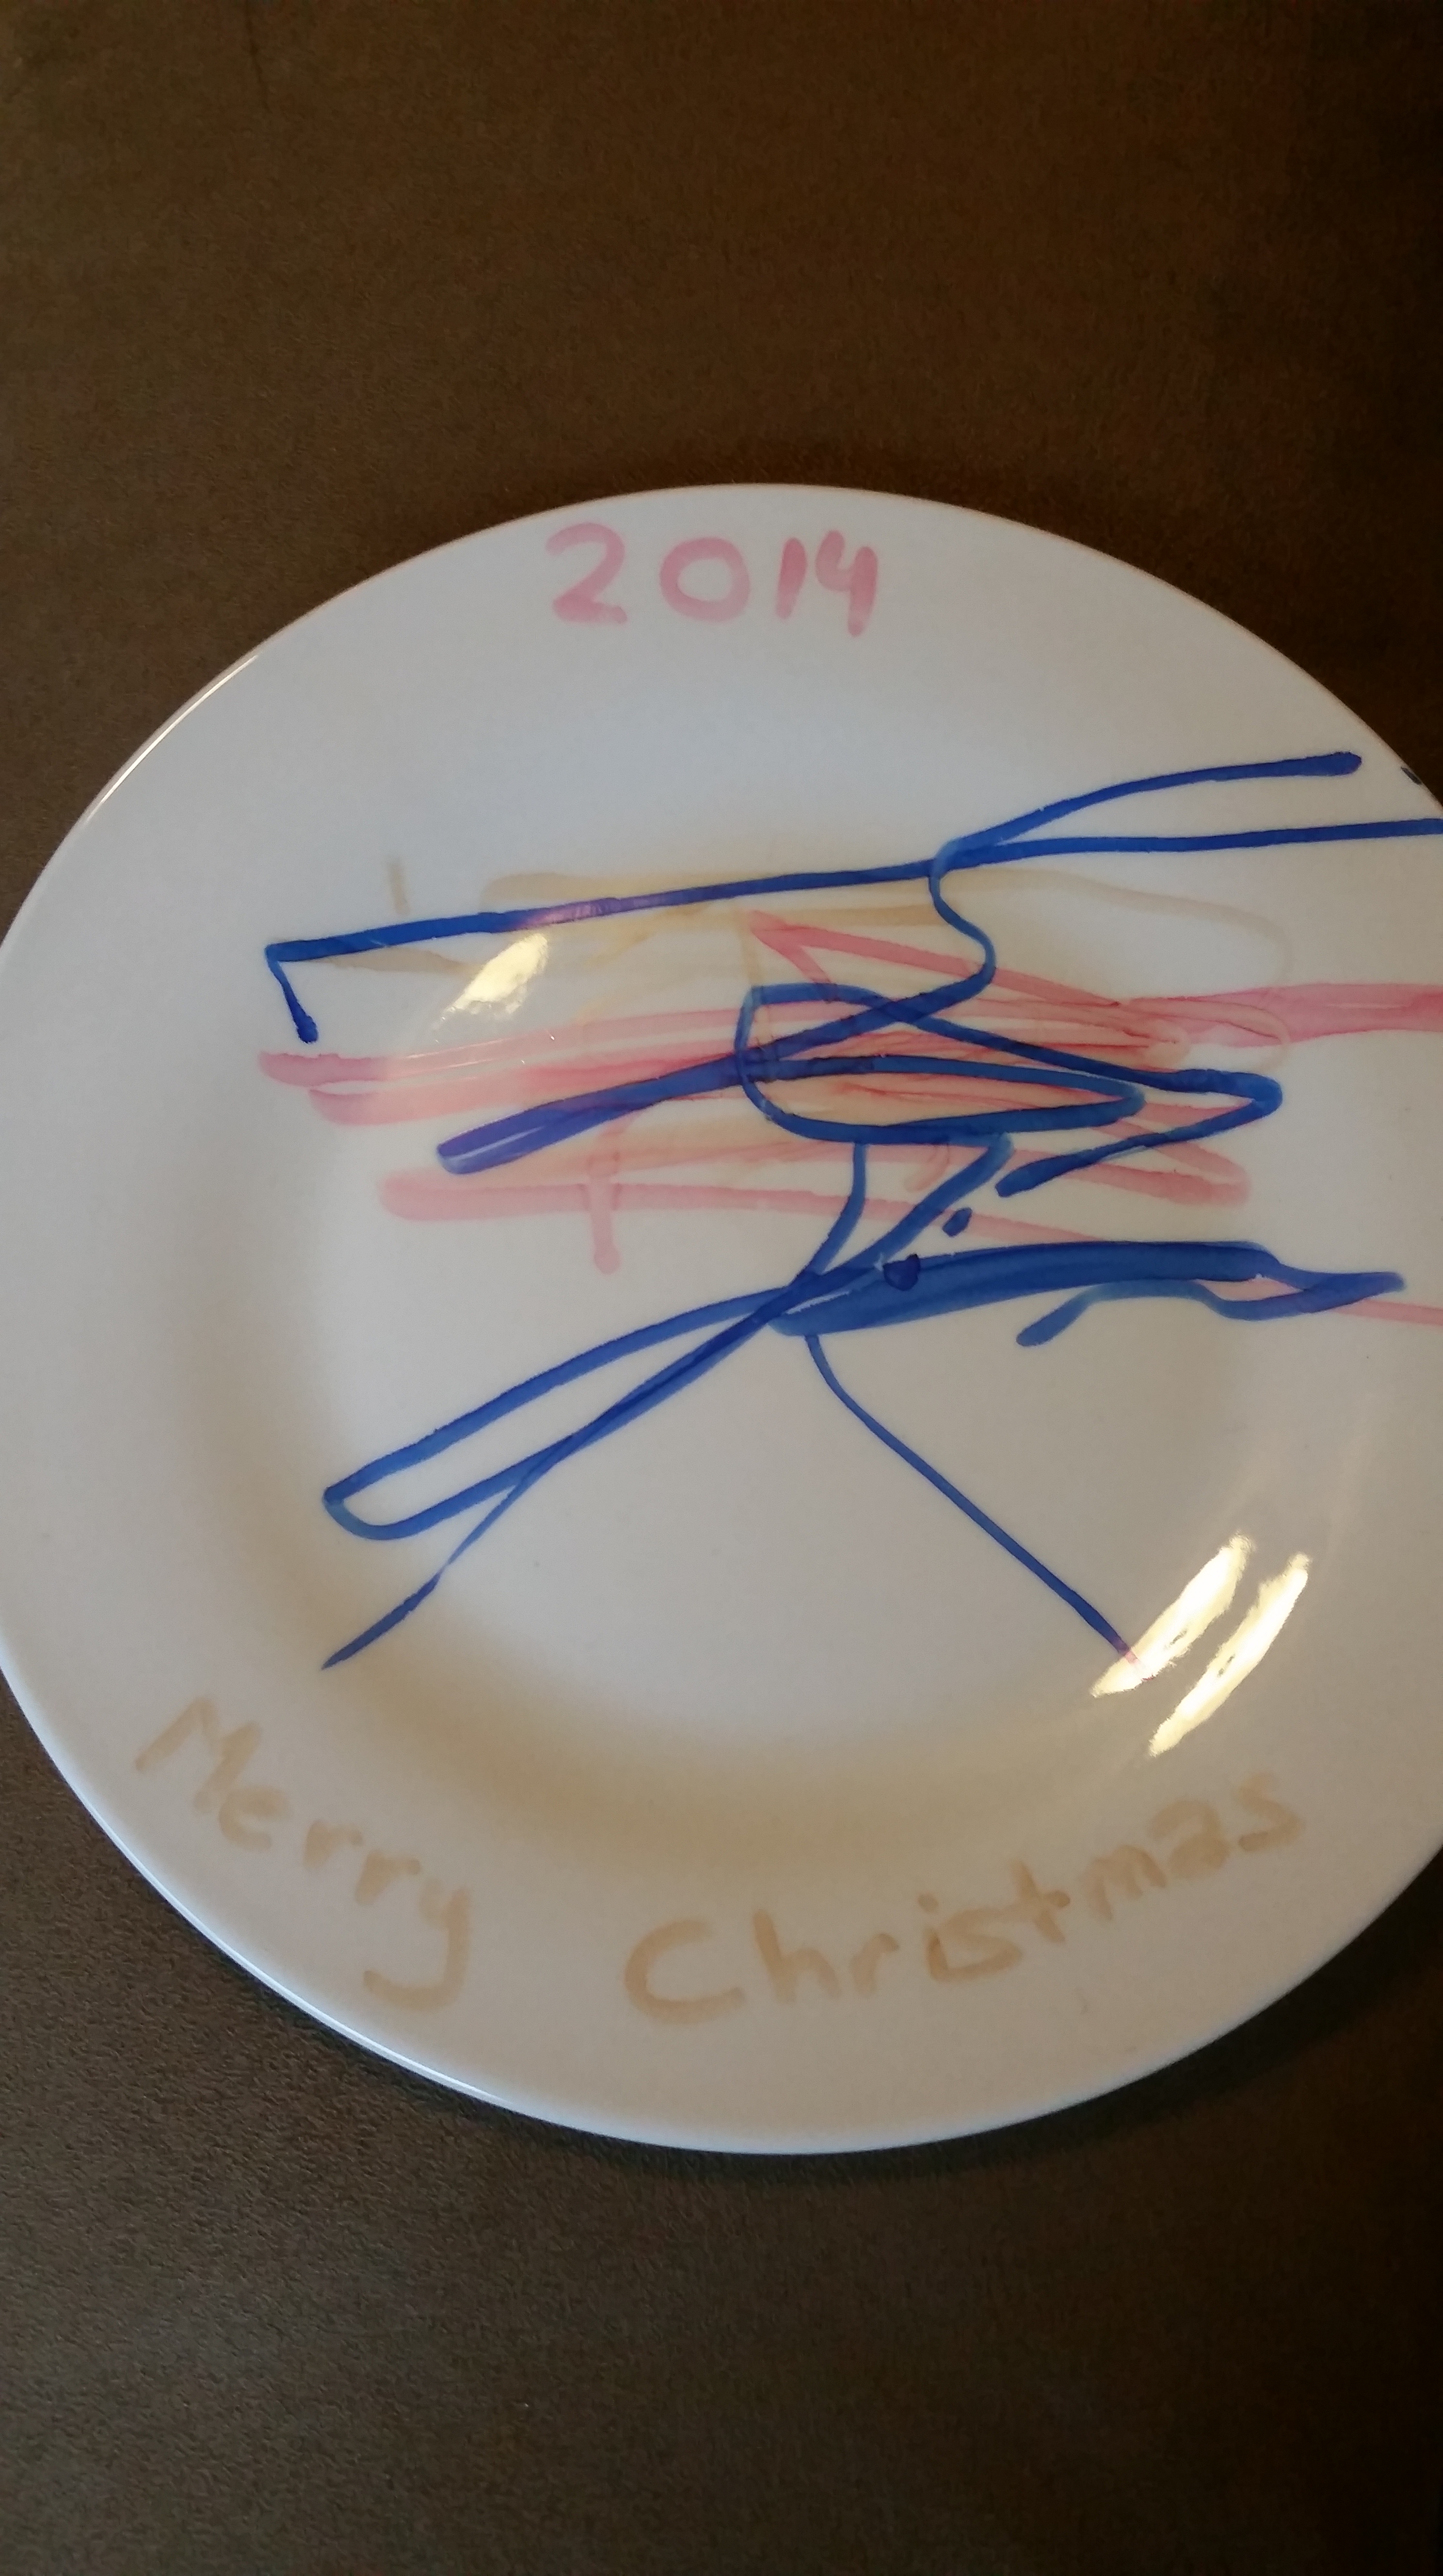
One of the finished products

All in all it was fun and pretty simple!  I would definitely try this again with some other awesome designs.  Pinterest has some great design ideas!

-Bonnie

From Pinterest to Real Life

2 Comments

Well I found two plain Jane t shirts in my drawer that I never wore.  Rather than just getting rid of them I decided to try my hand at making bleach pen shirts again!  I love the shirt I made last time.

2014-04-05 17.18.53

Plain Jane t shirts

2014-04-05 17.37.37

Design #1  (I am not creative on my own….I found
both these designs on Pinterest and copied them. 🙂 )

2014-04-06 15.03.51

Design #2

The second one turned out better than the first, in my opinion.  I ended up not leaving the bleach on long enough on the first, so the design is hard to see.  Plus the flowers look a little young and girly.

2014-05-22 13.44.25

This one could have done with a little more bleach time as well, but I also like the more understated look.

-Bonnie

From Pinterest to Real Life – Patriotic Pallet

Leave a comment

I am so excited to have finally accomplished a “real” Pinterest project!  When a friend was giving away some pallets I snatched one up!

2014-06-28 12.27.29

The pallet was originally painted a mint green.
I got some spray paint…..

2014-06-28 16.14.55
and….

2014-06-28 17.14.15

Ta da!!!!  I love it.  I used a homemade foamie stencil for the stars.  My wonderful
husband traced it for me, as I was having trouble getting them to look okay.

I am loving it!  It was very fun to make and now it looks great against our house. 🙂

-Bonnie

Linking up today with Crafty Obsessions!

Homemade Christmas

Leave a comment

Wyatt made his first Christmas presents this year!  I knew that I wanted to do something to incorporate his hand or foot print.  Pinterest was full of ideas, as usual.

Attempt #1 – Salt Dough Ornaments.  This was a fail.  We forgot to put holes in them for hanging, the hand and foot impressions were barely visible, and they crumbled as they dried up.

Attempt #2 – Washable paint.  We took a rag and applied some paint to the bottom of the Wingman’s foot.  This was a fail.  His foot just slid all around, rendering the painted imprint only remotely resembling the general shape of a foot.

Attempt #3 – Paint pen.  Success!  I traced the Wingman’s hand on a piece of paper and used that as a stencil for the ornaments.  The first one, I taped the paper on for easier tracing….but when I removed the tape, it removed the color on the ornament. Oops!  On the rest of them, I was able to carefully hold the paper in place and trace the hand print.  Then I filled it in with the paint pen.

2013-12-12 09.36.24

I love how they turned out!!  His little baby hands are so precious.  🙂

-Bonnie

From Pinterest to Real Life

5 Comments

Finally I have my own blog post titled that.  😉  Pinterest has so many creative ideas for DIY projects.  This week I was so excited to actually try one!

This is the post that gave the instructions I followed.  Even though it was pretty straight forward, I was so nervous about taking bleach to a shirt and I welcomed the instructions.

I started with just a plain black t shirt.  Sorry for the poor picture quality.
The post recommended putting wax paper between the shirt layers to prevent
the bleach from designing the back of the shirt as well.  I didn’t have
wax paper, but I had a small box with drawing supplies in it.
I just stuck it in between the layers…

…and bleached on a design using a Clorox bleach pen…

…and let it sit.

The post said to rinse the excess bleach off using warm, soapy water, but I wasn’t sure how to do that without the bleach spreading to the rest of the shirt.  I ended up with quite large bleach blots on my design.  Finally, I decided to go for it and thankfully the bleach blots didn’t spread at all.  They rinsed right out!

And here is the finished product!

I am so pleased with how it turned out!  In fact, I’m already trying to find a time to go to Goodwill and buy more plain t shirts so I can try out other designs.  I have several ideas in my head.  🙂

All in all, it was a very fun and very simple project that turned a plain T into a cuter alternative!

-Bonnie